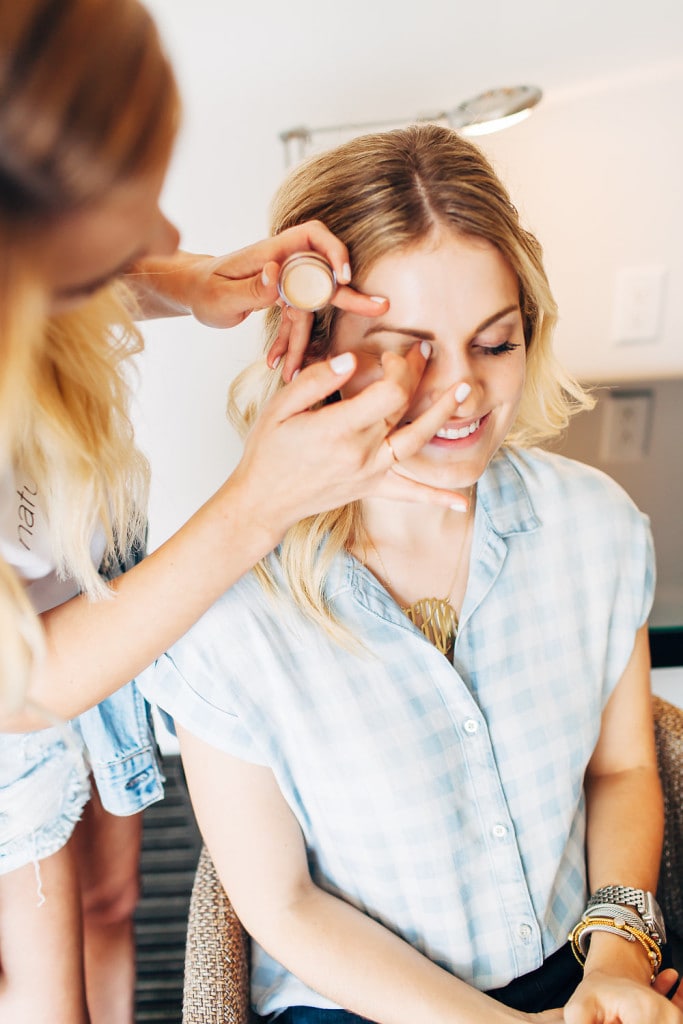
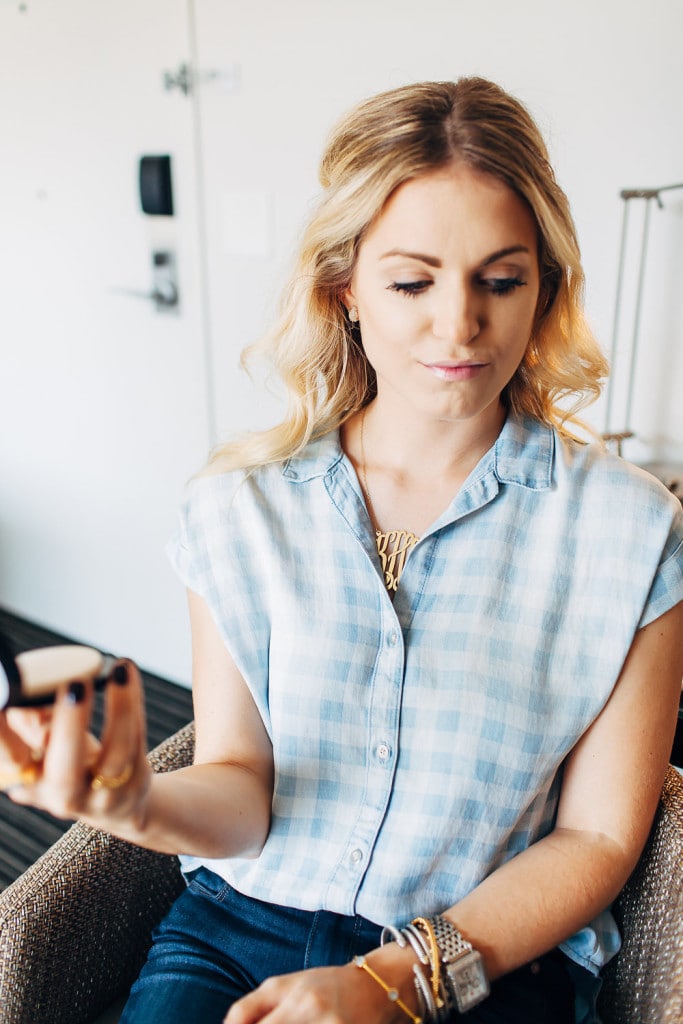
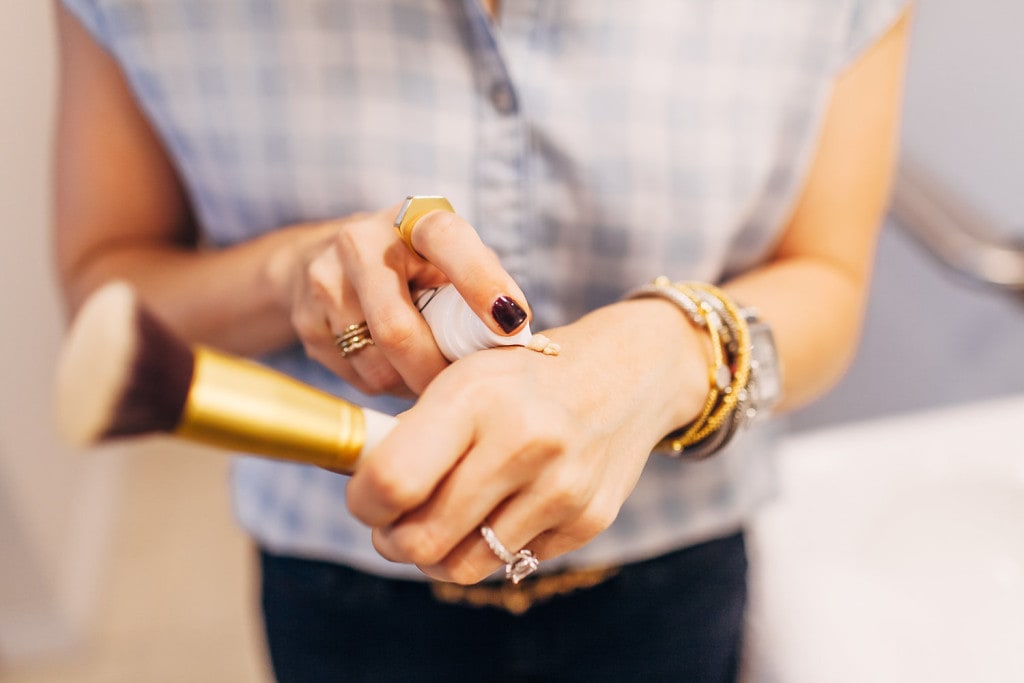
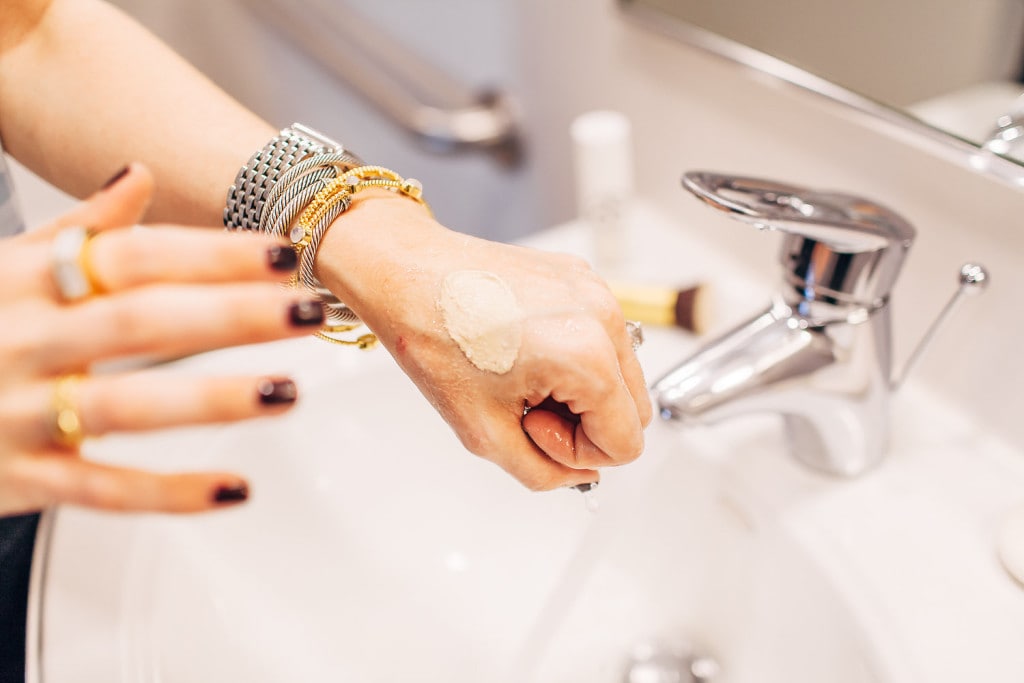
[How we started. Matched some of my skin, but a little blotchy and not too cute!]
“Girl, this matches so well.” bahah!
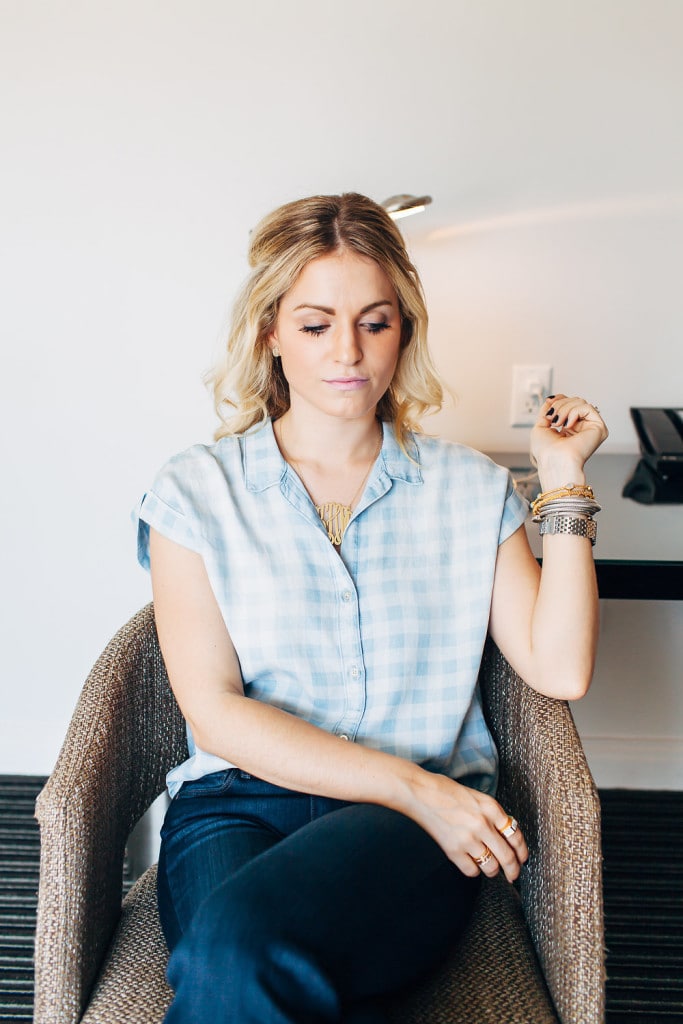
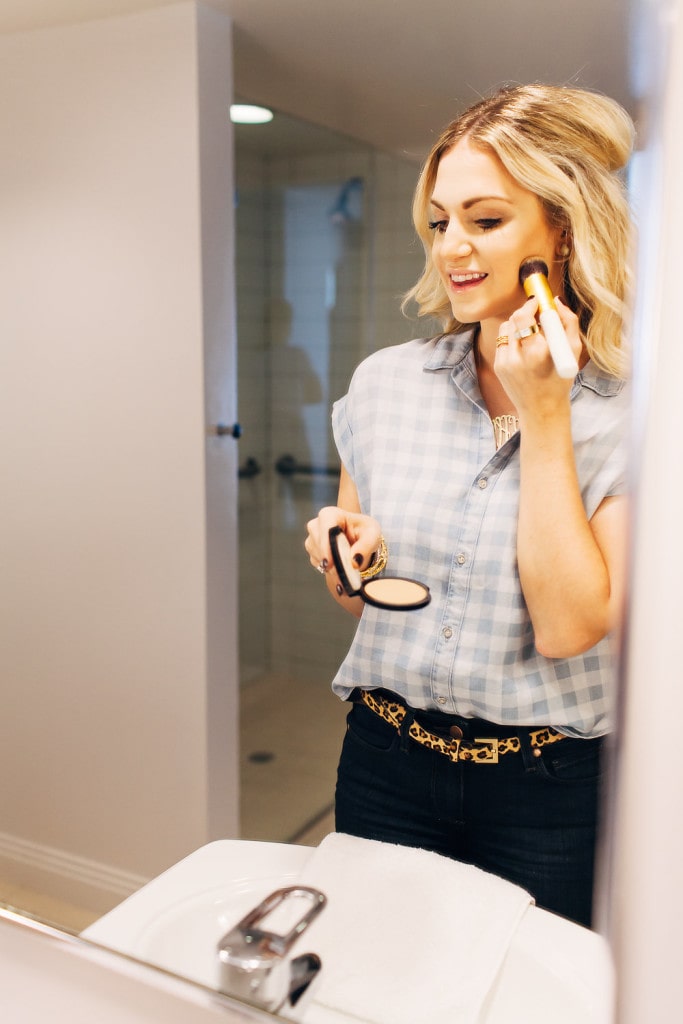
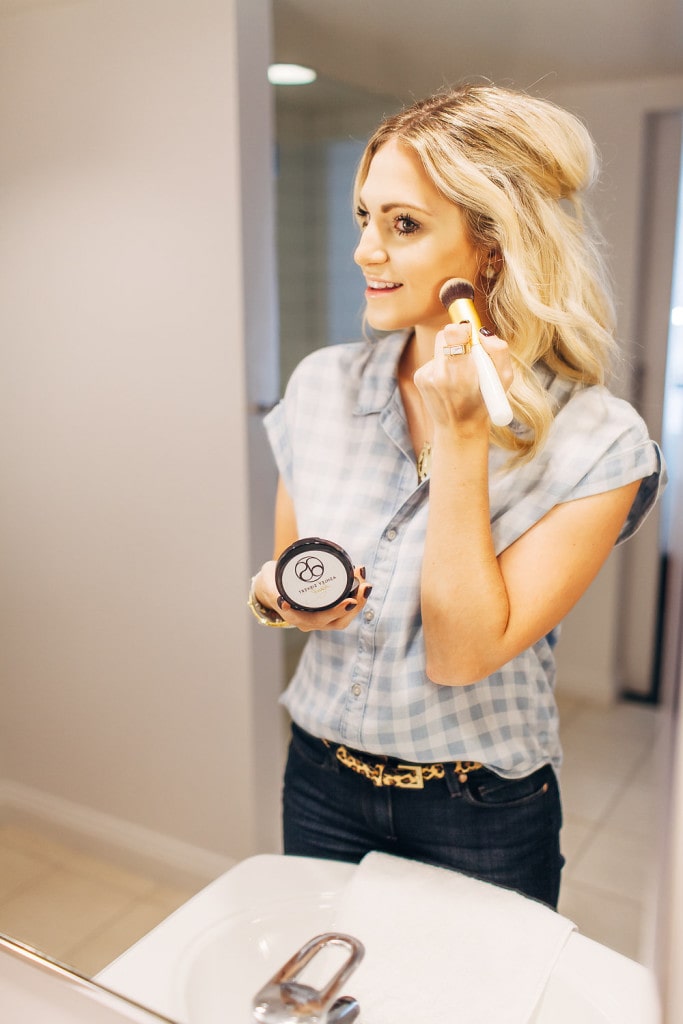
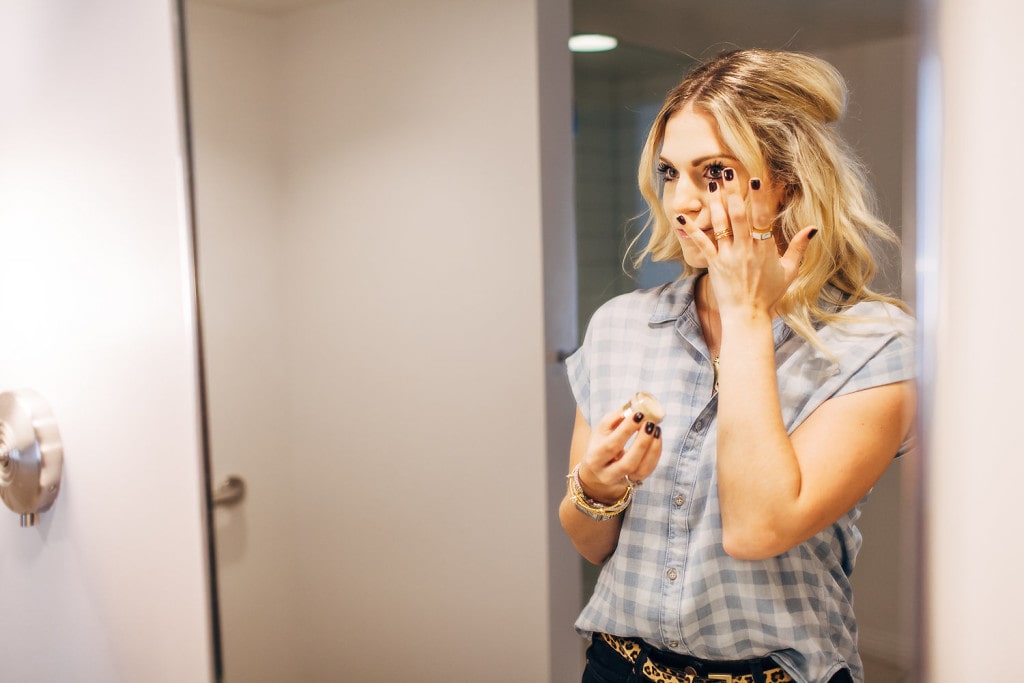
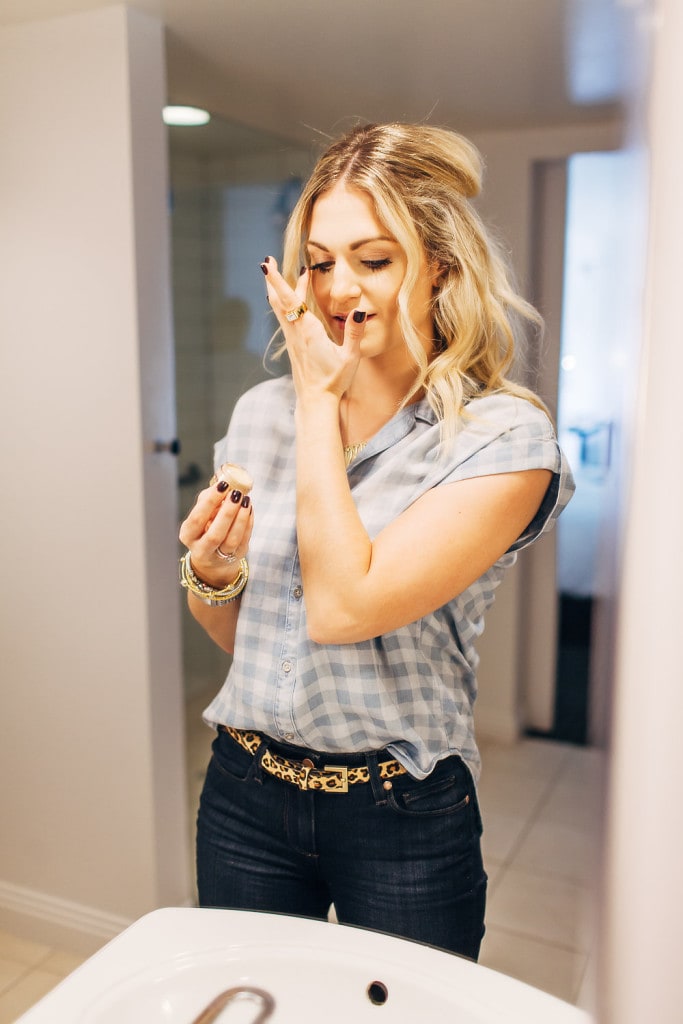
Outfit Details:
Top: Anthropologie | Jeans: Nordstrom, Less Expensive Version | Belt: Similar | Rings: [c/o] Baublebar, Baublebar | Watch: Michele, Similar | Bracelets: David Yurman | Earrings: [c/o] Kendra Scott | Monogram Necklace: Similar [get size 3xl and it will match mine!]
Photography by: Lemons & Tea
[FYI, this post is long. But it’s foundation. And that can make or break ya. So let’s just forgive me and move on to the good stuff.]
I’ll let you in on a little secret, I HATE getting my hair and makeup done.
My skin crawls. Half the time I want to cry. And the whole time I’m thinking, “This is NOT relaxing. This is NOT relaxing. What are you doing to my face?!”
I’ve talked about it before [maybe 7 times to be exact haha] but today I wanted to explain a huge reason why.
My skin tone.
Yep, my skin tone. My dad is Swedish, cue the fair skin. But my mom has a lot of Native American in her. She lays out for 5 minutes and becomes 47 shades darker. Because of that, my skin has yellow undertones. It’s pretty creamy and I don’t pull pinks like typical fair girls. You’d almost think my skin was olive toned with how it reacts to makeup, but we all know that is a big fat lie!
If that was a bunch of makeup artist mumbo jumbo here is the bottom line:
I’m fair-ish. But not super fair. And typically makeup artists see me and think, “Oh she is light!” Then they put makeup on me and realize, “Oh. Wait. She needs to be warmer. She has yellow tones.”
What ends up happening is I either look orange or I look Twilight Cullen Family white. Neither of which are my skin tone.
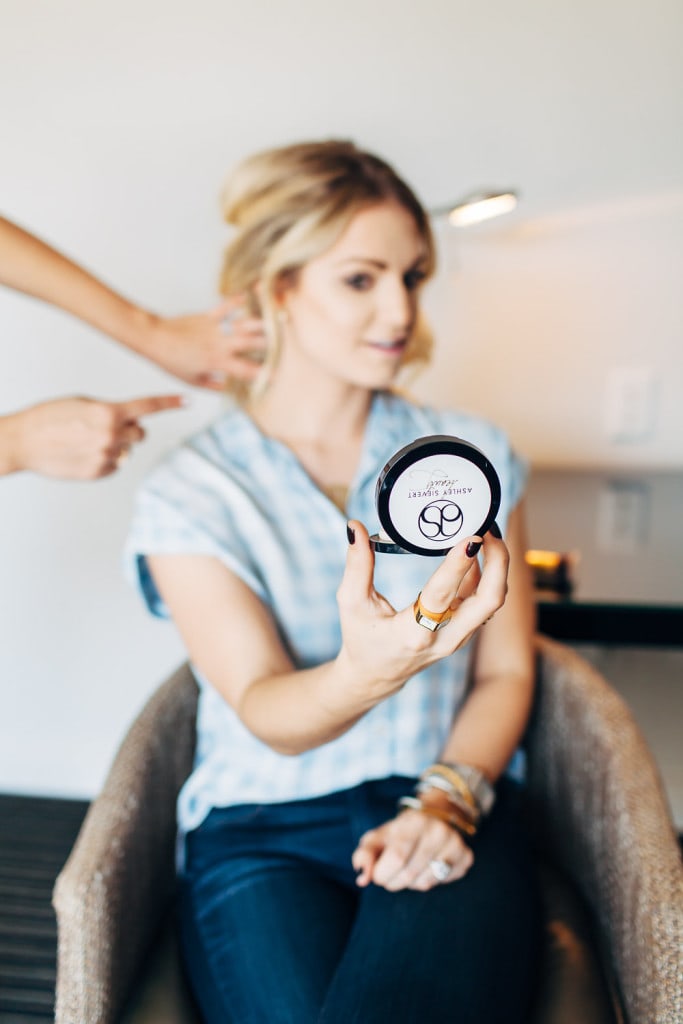
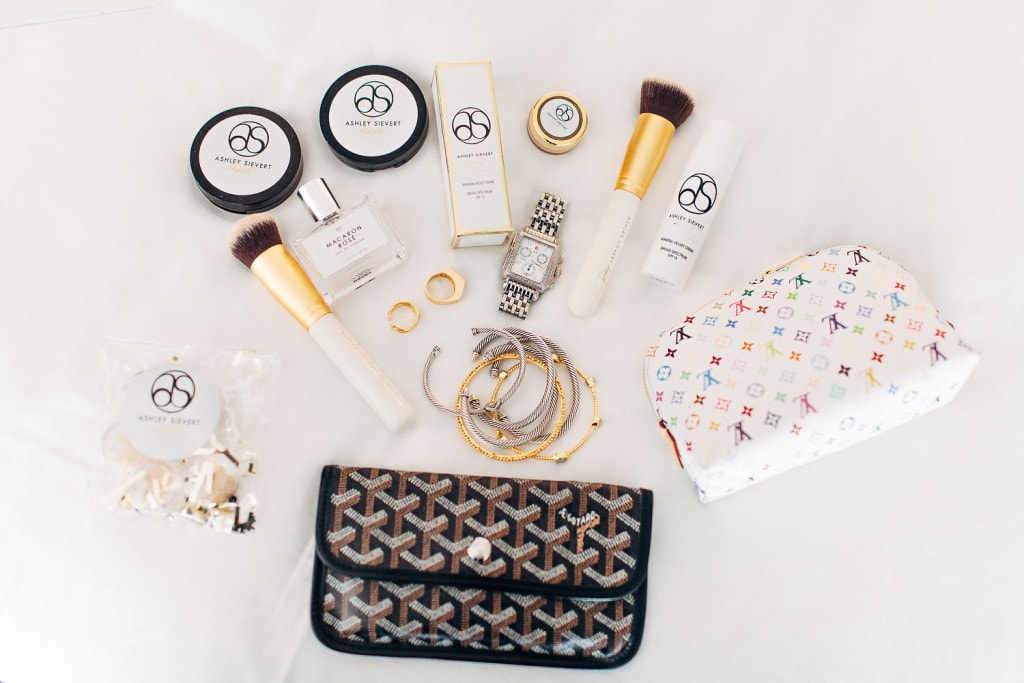
The same frustration happens with shopping for foundation. I’d been using Makeup Forever HD pretty faithfully when shooting and then 4 hours into wearing it my skin turned orange. Lots of y’all said the same issue was happening, so when Ashley Sievert told me she’d be in Dallas and asked if I wanted to try her line I quickly said, “When and where?!”
Ashley Sievert is a makeup artist and I actually featured her career a year ago when I was covering “It Girl Jobs” on the blog! [That was such a fun series I’m dying to bring back!] She has been a makeup artist for 10 years and has a product line as well. Lots of bloggers use her products and it gets a lot of buzz at blog conferences and fashion week, so I felt a little left out I hadn’t tried it.
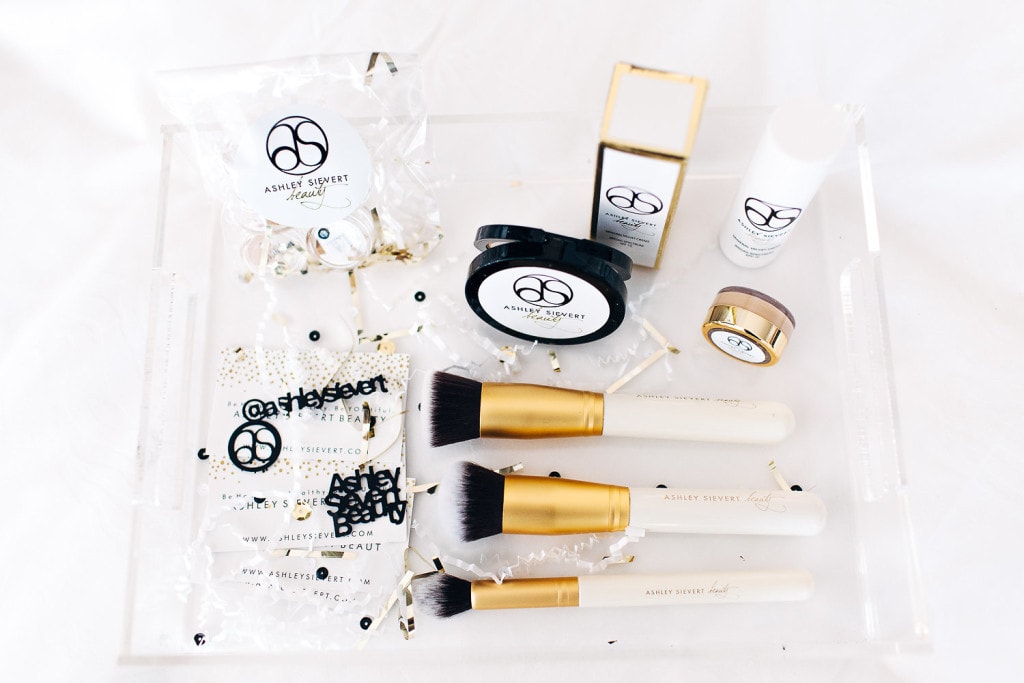
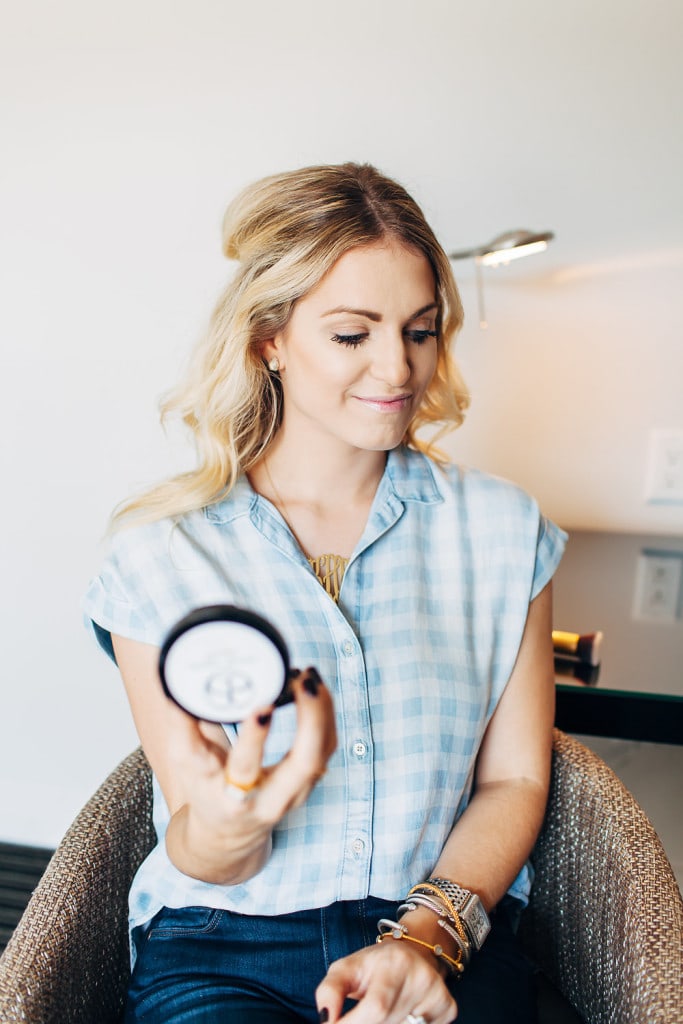
Her foundation is pretty comparable to Georgio Armani Liquid Silk and it’s mineral based, so it actually helps heal if you have problematic skin. It’s waterproof and her tube will last you 3-4 months if used daily.
You can get all the details here and I’ll explain how to use below!
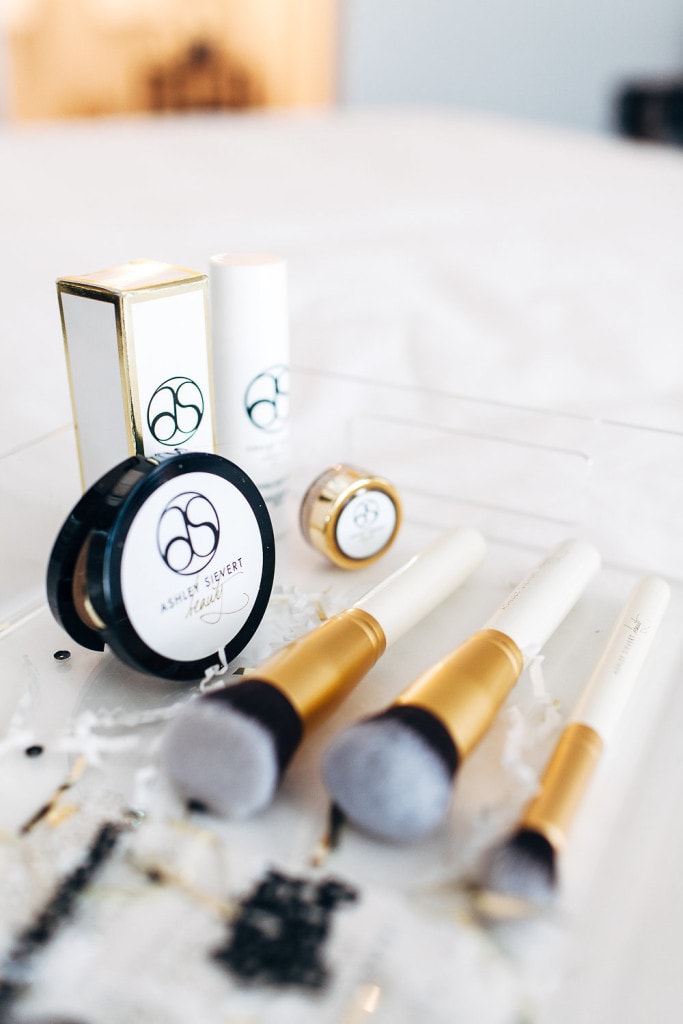
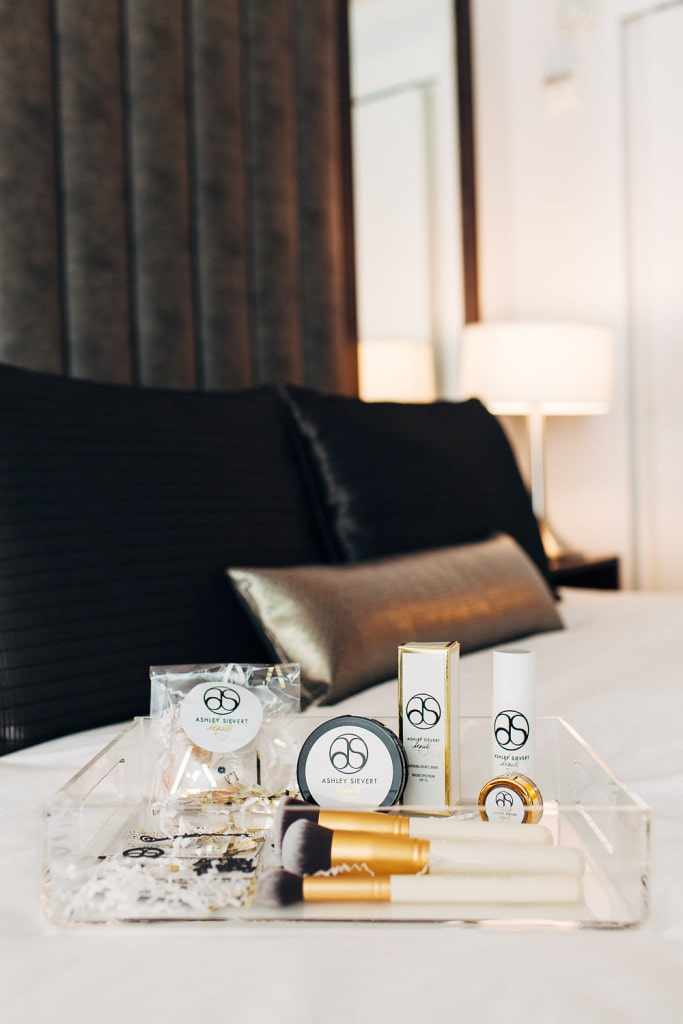
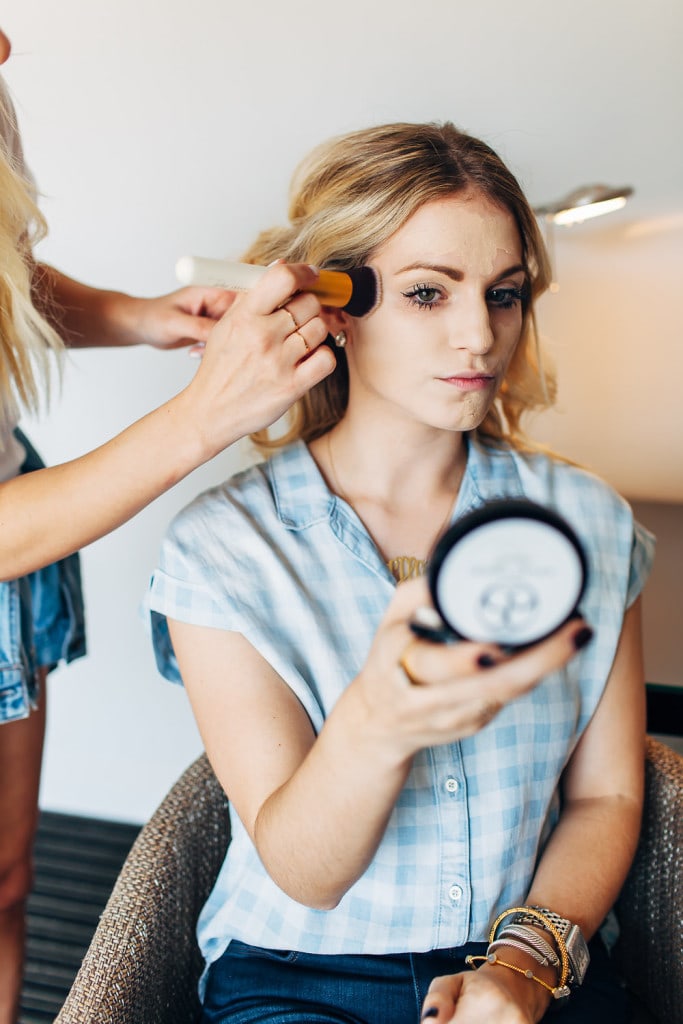
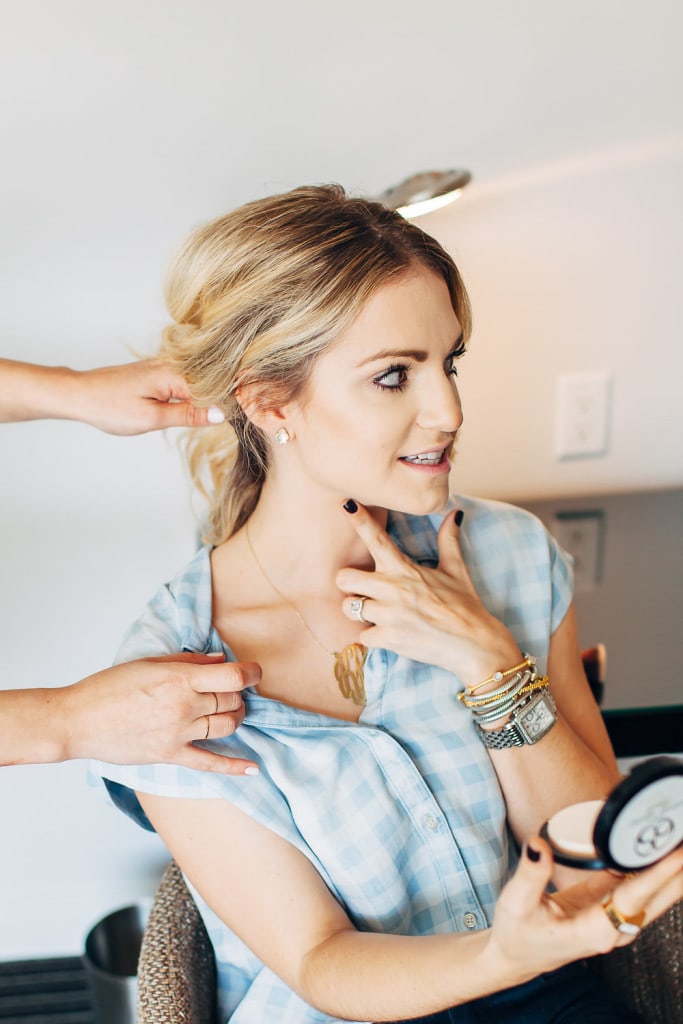
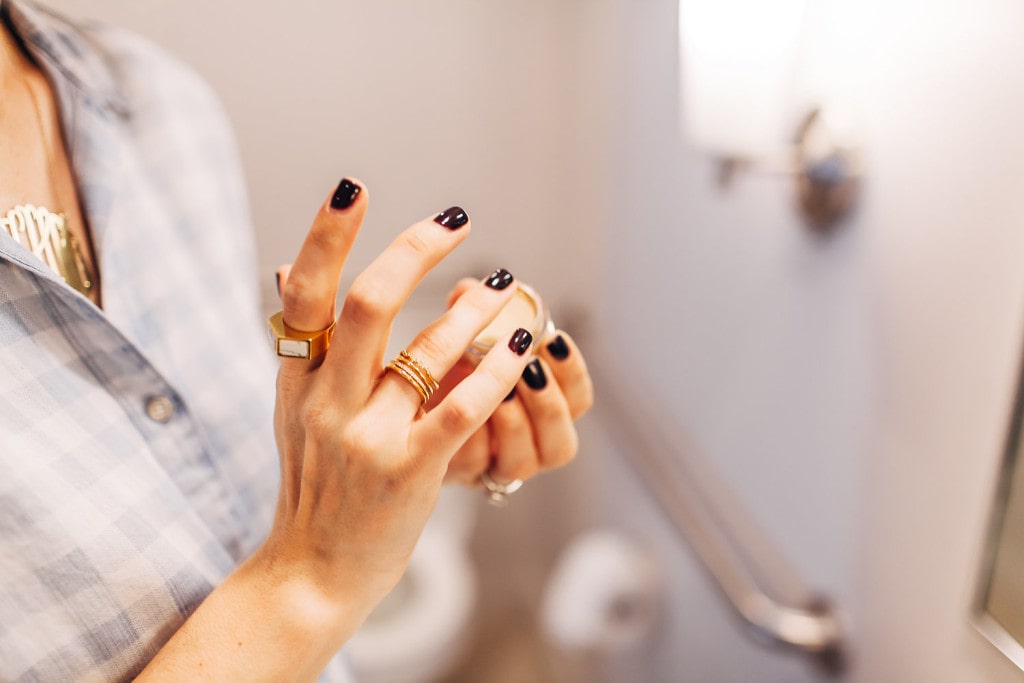
1. I start with her flat top brush and one pump [you can use 2 but I’m just using 1 for summer!] of her Mineral Velvet Foundation. You start in the center and pat out. Then you use the brush to pat and press it into your skin as opposed to just rubbing in a circular motion. This gives you an “air brushed” effect while maintaining an natural, mineral finish.
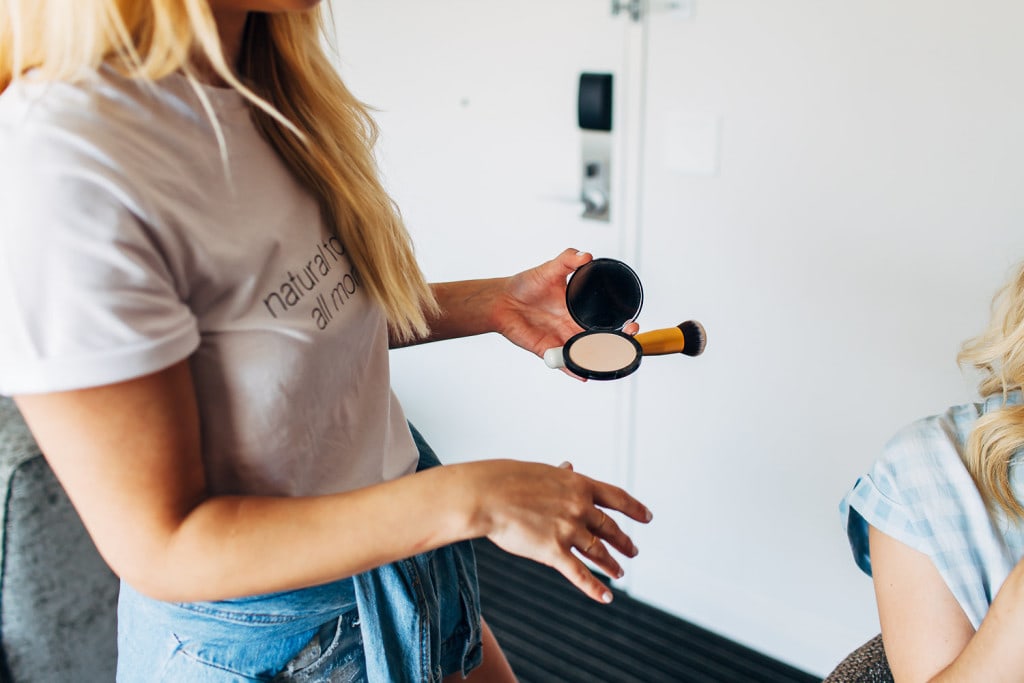
2. Then I use the Mineral Finishing Powder. I use this if I’m going to be out and about, otherwise you can just use the foundation if you prefer! But I love that this has a translucent powder effect, so you aren’t applying more makeup per say, you’re just finishing your look and setting it! I pat this onto skin using the Velvet Air Brush.
3. Lastly, I use the Glow Under Eye brightener. You can use your finer or a beauty blender and this stuff is like candy! It acts as a eyeshadow primer, under eye brightener, concealer and highlight. Because I’m lighter my highlight has a hard time showing up under foundation. Ashley explained that we want to highlight above it so it doesn’t just get blended underneath makeup, which made complete sense!
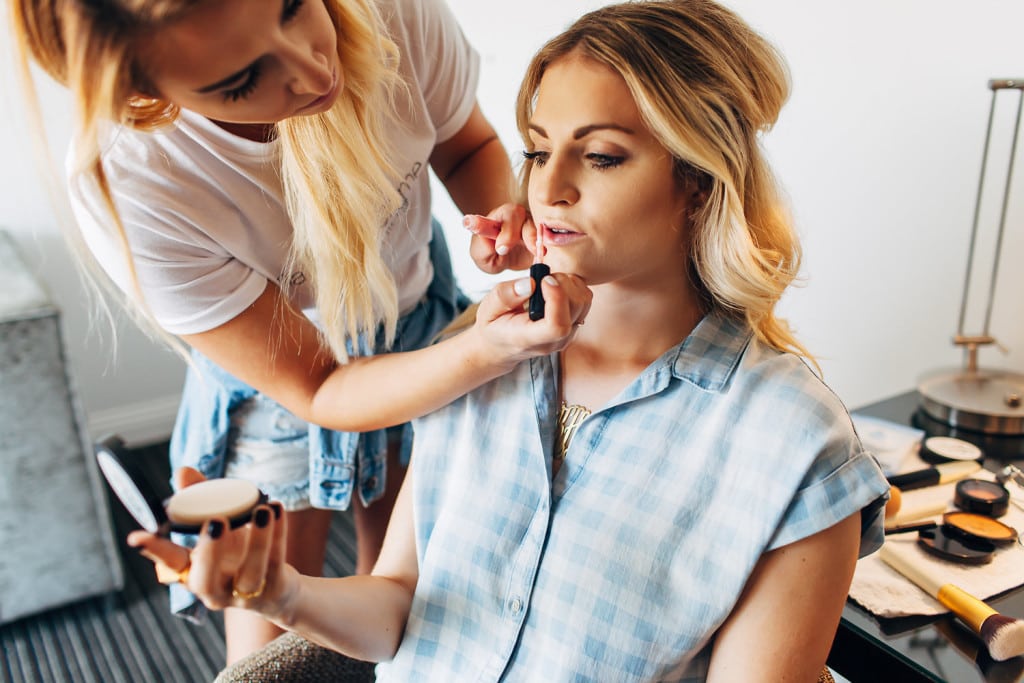
This is part of her 8 minute face! So you can finish with blush, brows and mascara and you’re ready for work or errands!
In terms of shades, I got Milan and then a Paris tester to mix in to create a perfect shade! You can try a tester pack for $10 if you want to mix or see which one you would be exactly! Paris is her most common shade.
You can purchase all the products here.
After a full two weeks [going on 3!] of wear here are my takeaways:
1. I’m shocked at how long it lasts. It’s really nice because if I take a nap or even get in the pool it doesn’t come off, yet you don’t walk around looking like you just got your makeup done and it was heavy. I also don’t get an oily T Zone when I wear this in 104 heat.
2. Paul LOVES it. Which is so funny, but we all know boys love the no makeup, makeup look. We went to dinner after Ashley did my makeup and he kept saying, “I like that. You should use that on our wedding day.” I think he thought it was just tinted moisturizer, but this stuff would cover a terrible breakout easily.
3. Test on your neck. Ashley told me that if you test on your neck your makeup shade will actually be correct and you won’t get the dreaded “line.” Then just warm of your face with bronzer and lips! So even if you think, “I think I’d be New York, but maybe I’m Milan?!” go with Milan if it matches your neck.
I know this was a long review, but foundation can be so tricky with matching skin tones and looking natural yet staying put! I hope you enjoyed it and if you are a bride Ashley does bridal makeup!
You can browse her site for makeup, products and consultations here!
Thank you so much to Ashley Sievert Beauty for gifting me product and a consultation! All opinions are my own.
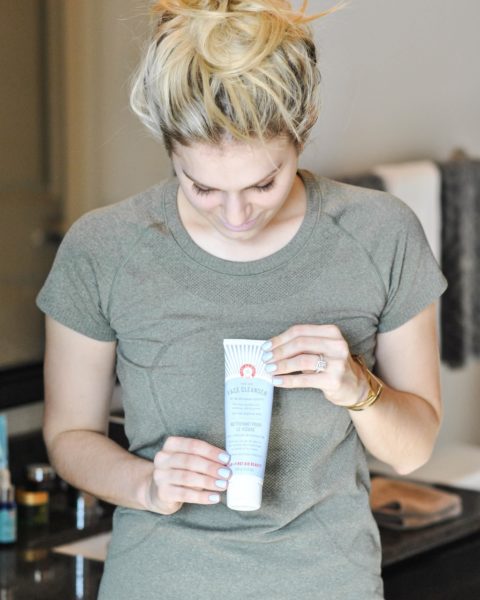
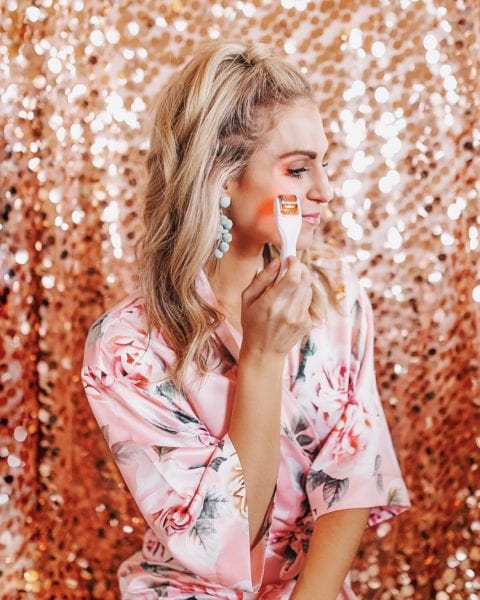
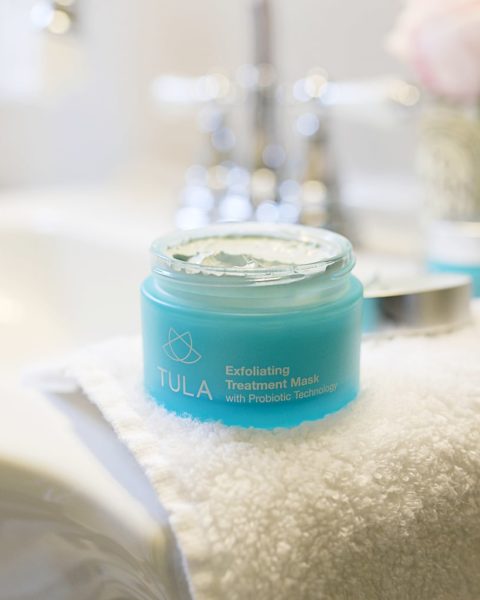
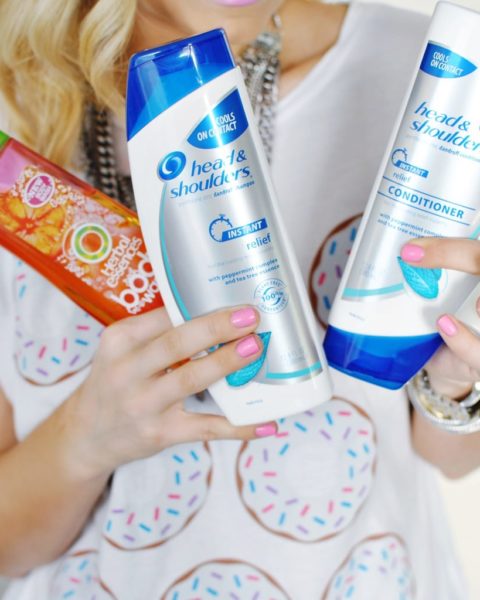
need to try these!
xo,
Melissa
MissyOnMadison.com
Those brushes!! Need to get myself some new ones, and I just love the white and gold on these! <3
StyledbyBlondie.com
I love how detailed your posts are <3
XoXo One Stiletto At A Time
I need to be matched for my sons wedding, help please